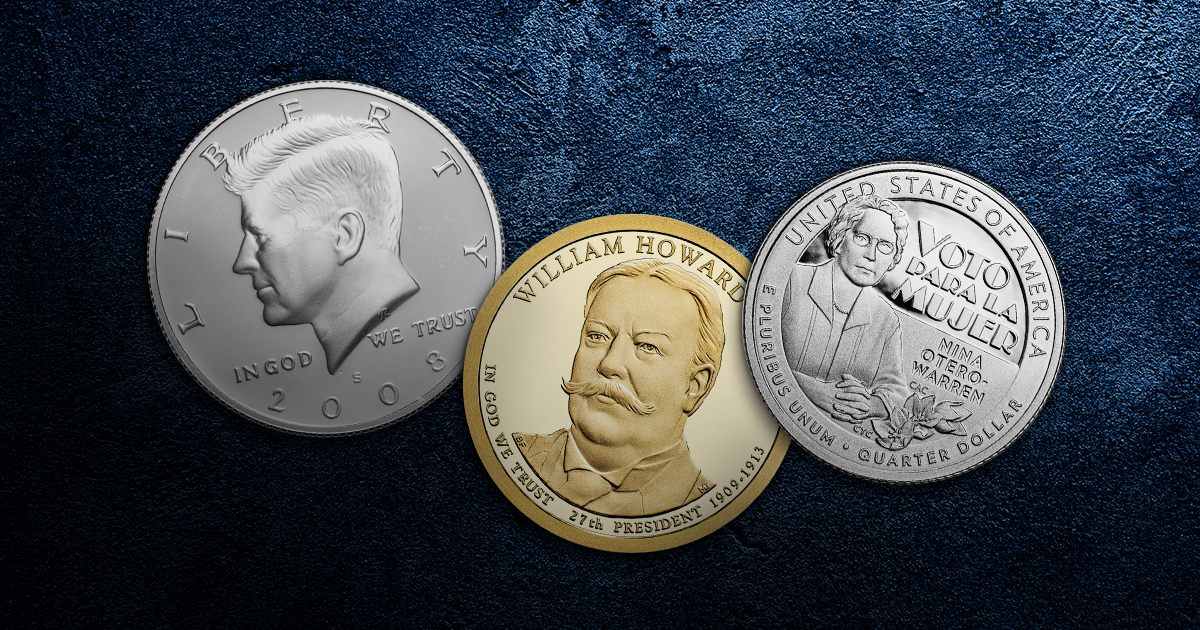
A coin hub is a piece of steel that contains the positive image of a coin’s design. Coin hubs are used to create coin dies that have the negative image of a coin’s design. Coin dies are the tools used to mint coins; coin hubs are the tools used to make coin dies. Coin hubs are an essential component of the minting process. Without coin hubs, it would be difficult to faithfully reproduce coin designs the way the U.S. Mint does every year. Making these hubs and dies involves several precise steps to ensure every coin is consistent and true to the original design.
While hand-crafted coin hubs date to the days of the denarius, the processes used to produce them have grown more refined in nearly every century. From the use of screw presses between the 16th and 19th centuries to the advent of the hydraulic press in the 20th century, technological advancements have improved the strike of coins. Today, the U.S. Mint uses computer controlled milling machines in conjunction with hydraulic presses to provide as much uniformity as possible.
Steps for Producing Coin Hubs
Step 1: Creating the Master Hub
The process begins with the creation of a new coin design crafted by an artist or engraver. Mints like the U.S. Mint then digitize these designs before sending them to a Computer Numerically Controlled (CNC) milling machine. The CNC engraves the design with granular precision onto a piece of steel, which now contains the positive or raised design and is called the master hub. The master hub is the first generation in the hub and die-making process.
Step 2: Creating the Master Die
After the master hub has been prepared, it is forced against another piece of steel in a hydraulic press to create a master die. The master die holds the reverse or negative image of the coin design. While the master hub is slightly raised, the master die is pressed down, creating a relief image. The efficient transfer from positive to negative image is critical, as the master die is used to produce further hubs and dies that will strike coins with the design they contain.
Step 3: The Hubbing Process
Hubbing is the process of transferring the design from the master hub to die blanks in the hubbing press. This step inverts the hub’s positive image for working coin dies. The hubbing press uses upwards of 600 tons of force to press the hub into the die blank and transfers the design in less than one minute. The exact amount of pressure used depends on the hub and die denomination. The hubbing process ensures that the coin design is faithfully reproduced on each die, facilitating the mass production of coins.
Step 4: Working Hubs and Dies
After the hubbing process, the master die is utilized to craft working hubs. These working hubs are essential because of their use in producing additional working coin dies, the negative images used to physically strike coin blanks. Creating hubs and dies involves multiple generations. Precision is paramount to preserve the integrity of the original design.
Step 5: Hardening and Tempering
Working dies are prepared for the pressures of coin production through hardening and tempering. In this stage, the dies are heated in a furnace as hot as 1,500 degrees Fahrenheit before they are placed in a polymer solution. This hardens the steel but leaves it brittle, risking costly cracks. Following this, dies are hardened in a tempering furnace, where they heated at 400 degrees for several hours. Tempering the coin dies reduces their brittleness, providing a long life for each coin die. The Lincoln cent dies strike about 1 million pennies, although the die used to strike Roosevelt dimes only yields around 275,000 dimes.
Step 6: Inspection and Final Adjustment
After the dies are tempered and hardened, they undergo a final inspection. If there is a need for any touch ups, they are made using buffer tools, and the coin dies are polished to remove any imperfections. The freshly polished and buffed coin dies are then assigned unique serial numbers to help track die throughout their lifetimes.

